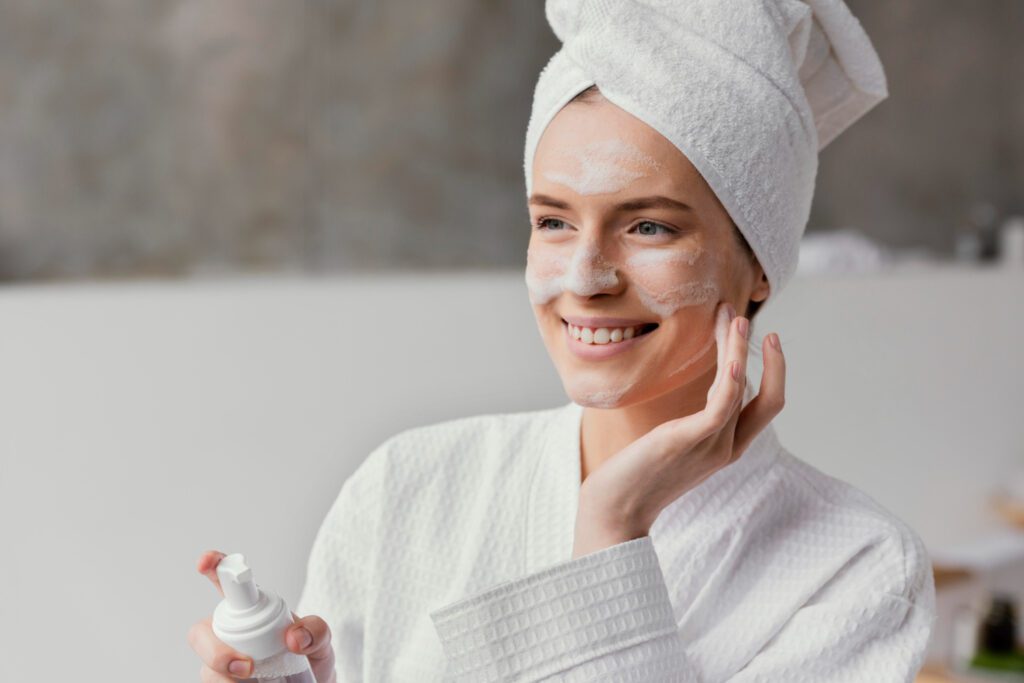
A face clean up is a skin care procedure conducted to remove dirt, oil, dead skin cells, and other impurities found on the skin. It aids in improving general skin health and appearance. Whether you have oily, dry, combination, or sensitive skin, regular face clean-ups can make a significant difference in your complexion, alleviate prevalent problems like blocked pores, acne, and dullness, and help achieve healthier skin overall.
How to Do a Face Clean Up at Home: A step-by-step Guide
Whether you’re prepping for an event or just want to achieve healthier skin, here’s a step-by-step guide on how to do a face clean up at home. These steps will help you achieve clearer, more glowing skin.
Step 1: Cleansing
Cleansing is usually the first and basic step in any skincare routine. The purpose is always to cleanse your skin of dirt, excess oils, makeup, and pollutants. Without proper cleansing, all treatments would be less effective. Choose a cleanser that suits your skin type and is free of surfactants, because a 2012 study confirmed that these surfactants can disrupt your skin’s natural barrier, preventing your skin molecules from staying in order and potentially affecting its health.
How to do it:
- Use a gentle, hydrating facial cleanser that suits your skin type.
- For oily skin, opt for a gel-based cleanser, while dry skin types would prefer cream-based cleansers.
- Wet your face with lukewarm water, apply the cleanser, and massage it into your skin for 30 seconds. Rinse thoroughly and pat your skin dry with a clean towel.
Pro tip:
Do double cleansing when you need to remove heavy makeup. First, use an oil-based cleanser to remove heavy makeup, and then follow with a water-based cleanser that can clean your pores deeper down.
Step 2: Exfoliation
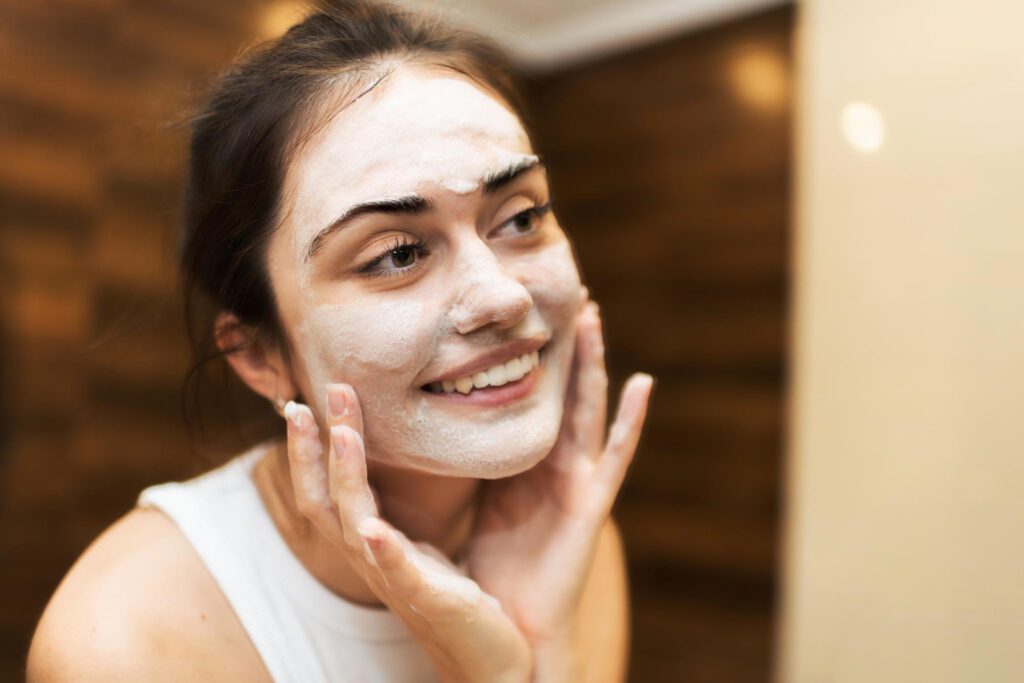
Exfoliation is an effective process to remove dead skin cells that may be blocking your pores and causing your skin to look dull. This step in a face clean up is crucial to smooth out, refresh your complexion, and prepare your skin for the next line of treatments. You can also use a serum to avoid irritation.
How to do it:
- Choose a mild scrub or a chemical exfoliant, like AHAs (alpha hydroxy acids) or BHAs (beta hydroxy acids), according to your skin needs.
- Gently massage the exfoliant in a circular motion on the face for 1-2 minutes, focusing on areas that tend to build up the most, such as around the nose and chin.
If you are struggling with hyperpigmentation, especially around sensitive areas like the mouth, exfoliating regularly can help lighten dark spots and even out skin tone.
You can learn more about hyperpigmentation and its causes, treatment, and prevention in our detailed article here.
Step 3: Steaming
Steaming your face opens up your pores and softens the skin, making the next steps (extraction and mask) much more effective. It’s also a relaxing and soothing step that promotes blood circulation and gives your skin a fresh glow.
How to do it:
- Boil some water and pour it into a bowl.
- Place your face over the steam, keeping a towel over your head to trap the steam in.
- Keep your face 6-8 inches away from the bowl to avoid burns. Steam for about 5-10 minutes, then pat your face dry.
Step 4: Extraction
Extraction is the process of removing blackheads, whiteheads, or clogged pores. This step is very important if you want to prevent breakouts and keep your skin smooth. However, do this carefully to avoid scarring or irritation.
How to do it:
- If you don’t know how to extract blackheads or whiteheads safely, then go see a professional
- If you’re doing it at home, make sure your hands are clean. Use a sterile tool to gently press around the clogged pore. Apply light pressure, never force it.
Pro tip:
After extraction, use a mild antiseptic or a calming toner to close your pores and reduce redness.
Step 5: Face Mask
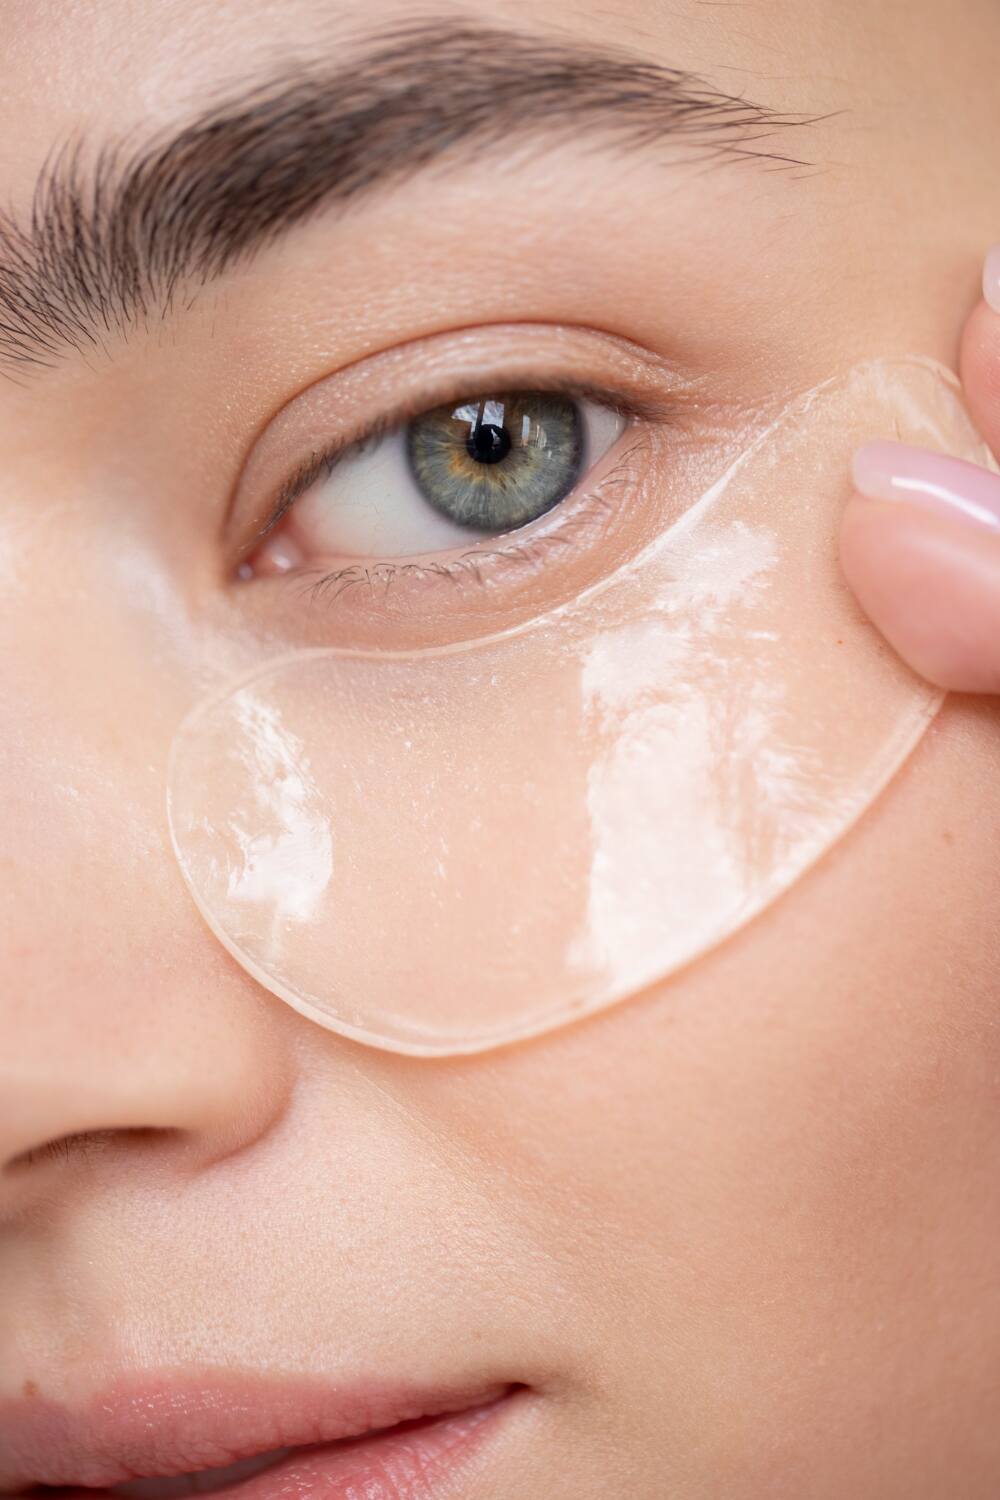
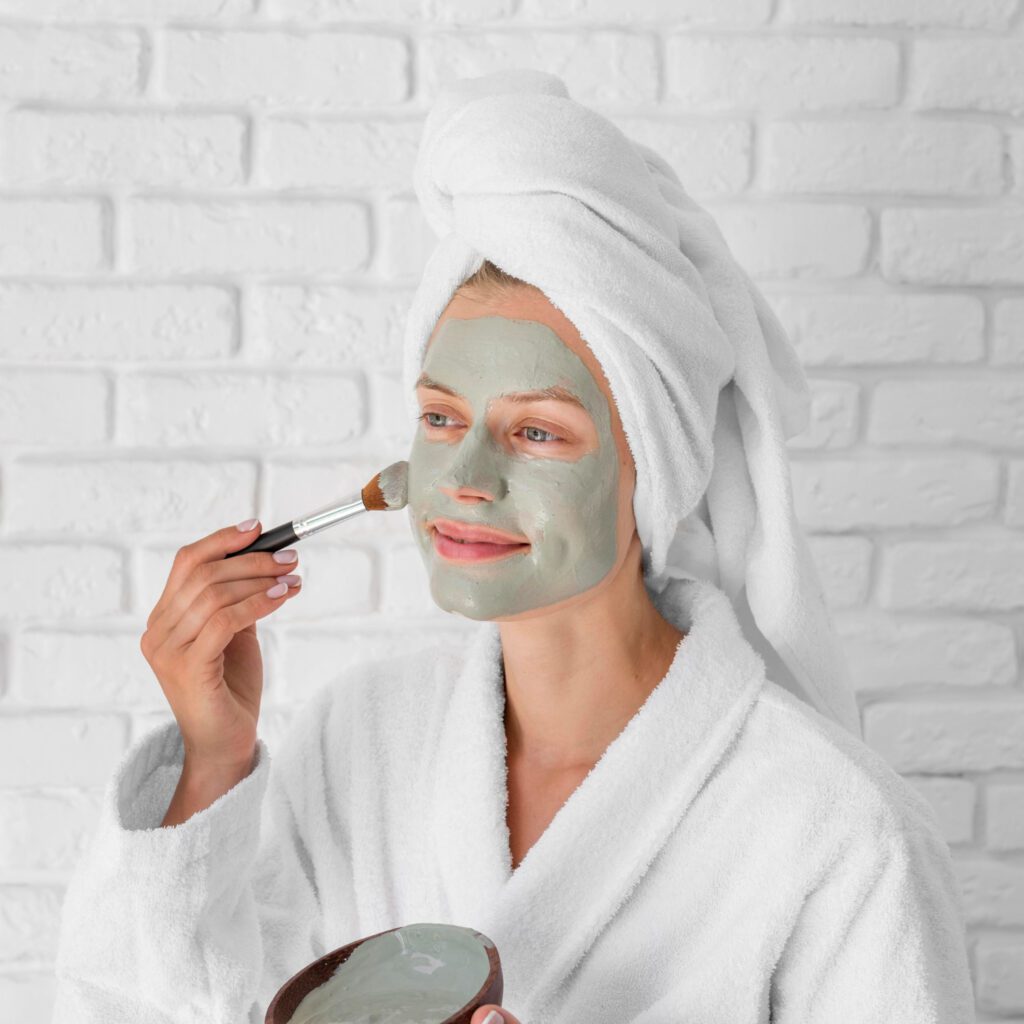
Face masks help to target specific skin concerns like hydration, acne, or dullness. Whether you need a brightening boost or deep hydration, there is a mask suitable for any skin type. If you’re in a hurry, a hydrating sheet mask can refresh your skin in just 10 minutes.
How to do it:
- After your extraction, apply a face mask that targets the needs of your skin.
- Using clay masks can benefit oily or acne-prone skin, while sheet masks or hydrating masks are perfect for dry skin.
- Leave the mask on for the required time and then rinse with lukewarm water.
Step 6: Toning
The toning is intended to rebalance the pH level of your skin after proper cleansing and steaming, remove all left impurities, and prepare your skin for moisturizing. This also helps to tighten pores and soothe the skin. If your skin feels tight or irritated after the use of a toner, switch to a formula that is gentle with no alcohol or harsh chemicals.
How to do it:
- Choose a toner that suits your skin type—hydrating toners for dry skin, or exfoliating toners with ingredients like witch hazel or salicylic acid for oily skin.
- Apply the toner to a cotton pad and gently swipe it over your face.
Step 7: Moisturisation
The final step in your face clean up is to seal in moisture. Hydrated skin looks plump, smooth, and healthy. Moisturizing helps build a barrier in your skin, preventing dryness or flakiness. Moisturize within a few minutes of completing your skincare routine to lock in all that hydration
How to do it:
- Choose a moisturizer that is suitable for your skin type.
- If you have oily skin, opt for a lightweight gel-based formula. Dry skin does well with a richer cream or oil-based moisturizer.
- Massage the moisturizer gently into your skin using upward strokes.
Benefits of a Face Clean Up
A proper face clean up offers several benefits, Some of which are as follows:
- Clearer Skin: Removes dirt, oil, and dead skin cells to help prevent clogged pores and breakouts.
- Brighter Complexion: Facials can brighten your skin and make your complexion shine brighter and more even.
- Deep Cleansing: A deep clean removes dirt and toxins, resulting in healthier, better-looking skin.
- Anti-aging: You can prevent early signs of aging by exfoliating regularly and moisturizing by boosting collagen production.
How Often Should You Do a Face Clean Up?
For most of us, doing a face clean up once a week is okay. However, this depends on the nature of your skin type and concerns:
- Oily or Acne-Prone Skin: If you have oily skin, it’s best to do a facial cleanse 1–2 times per week to remove excess oil and sebum, helping to prevent acne breakouts.
- Dry or Sensitive Skin: If you have dry or sensitive skin, limit facials to once every two weeks to avoid irritation or disrupting your skin’s natural barrier, which can lead to dryness or flakiness.
- Normal/Combination Skin: For normal or combination skin, a facial cleanse once a week is typically enough to maintain a healthy, balanced glow.
Overdoing on-face cleanups can irritate the skin. So, listen to your skin needs and adjust.
Facial Clean Up: Pro Tips for Effective Results
Here are some pro tips to get the most out of your face clean up:
- Always clean your hands and tools to avoid introducing bacteria to your skin.
- Don’t skip moisturizing—even oily skin needs hydration to maintain balance.
- Avoid using harsh scrubs that can damage the skin’s protective barrier.
- Be gentle during extractions—don’t press.
- Use sunscreen daily to protect your fresh skin from UV damage. For more on sunscreen types, check out our guide on the best sunscreens for your skin.
Dos & Don’ts for Face Clean Up
Do’s:
- Do hydrate your skin after every step of face cleanup.
- Do use gentle products suitable for your skin type.
- Do take your time, especially during the steaming and exfoliation steps.
Don’ts:
- Don’t over-exfoliate, as it can irritate the skin.
- Don’t use boiling water while steaming- lukewarm is perfect.
- Don’t use chemicals that can dry up or irritate your skin.
The Bottomline
A weekly facial cleansing can work wonders on the skin, making it look fresher, clearer, and healthier. Following these 7 easy steps will give you noticeable results without having visit to the salon. Remember to tailor your skincare routine to your skin’s needs. You can do a face clean-up by incorporating home remedies particularly if you are dealing with tan skin. With the right tools and products, your face clean-up routine will leave you glowing and fresh with the complexion you dreamed of.
